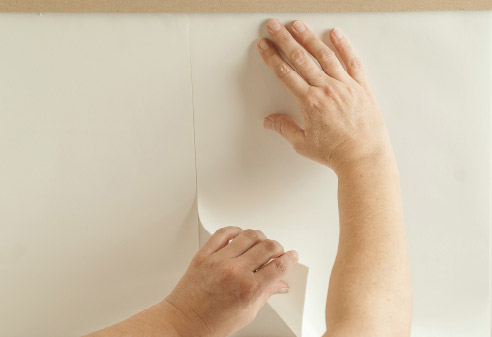
Install first MusselBound sheet
MusselBound is best installed vertically (top down like wallpaper). GENTLY place leading edge of adhesive side of Mussel Bound at top of wall (or back of countertop) square and plumb onto surface to be tiled. Lightly lift Mussel Bound to reposition if needed. When top position is square and plumb, lightly smooth and press the sheet downward. Trim-In-Place if using this as preferred method

Install next MusselBound sheet
Position vertical edge of MusselBound against the previously installed sheet to create a tight seam, but DO NOT OVERLAP. When satisfied with position, lightly smooth and press the sheet in place. Trim-In-Place if using this as preferred method.
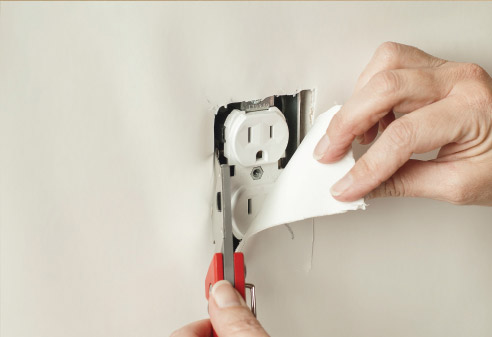
Trim to accommodate outlets & other obstruction
Carefully use utility knife to trim as needed. LEAVE RELEASE LINER IN PLACE.
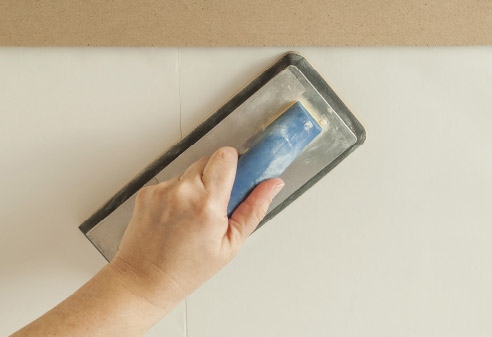
Press firmly in place
Only when satisfied with MusselBound’s placement, press adhesive firmly in place with grout float against release liner. A 5-second firm press to the entire sheet will also flatten bubbles and creases. To protect adhesive from dust or dirt, do not remove release liner until ready to set tiles.
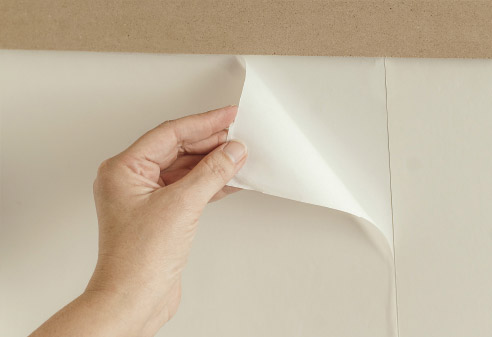
Peel release liner
When ready to begin setting tiles, peel off the release liner. It may be removed one section at a time as you work or all at once, so long as dust and dirt are not allowed onto the exposed adhesive.
Optional – level line(s)
Should you determine the backsplash counter, etc. is not level and/or if you want level guide lines for installing tiles, draw a level line by GENTLY placing a level against the MusselBound adhesive. Find the lowest side of the area to be tiled and adjust the level until bubble is centered. Use felt tip pen to mark level line directly on MusselBound adhesive.
